Requirements
- 1 Regular or strapless, padded, under-wire bra. The larger the cup size, the larger the actual purse. We found that the B – D cup works best.
- Miscellaneous trimmings, Fringing, Beading, Pom-poms, Lace etc for around the edge. Keep in mind that one trim will go over the underwire seam on both sides. Measurements should be based on the length of the under-wire portion of one side of the bra.
- For embellishing, you can also use ribbon, appliqués, frogs, tassels, tassels with cord (for handle), ribbon flowers, lace medallions, buttons, beads, feathers etc.
- If you plan to stitch it, you will need pins, needles, matching sewing thread and general sewing requirements.
- If you plan to glue it, probably the best way is to use a hot glue gun and glue sticks.
- If you want a closure on your bag you can use Velcro, magnetic closure, a piece of ribbon attached to each side of the bag and loosely tied, or make a drawstring closure (a good idea if the bra is small)
Instructions
1. Cut the back off of the bra, where the under-wire meets the sides of the bra.
Also cut off any fabric or elastic joining the cups in the center front.
Consider whether or not you want to leave the straps attached at the front, as in the case of a small swing purse.
If you want to use a different sort of strap e.g. cord, or attach the straps in a different place, then cut them off.
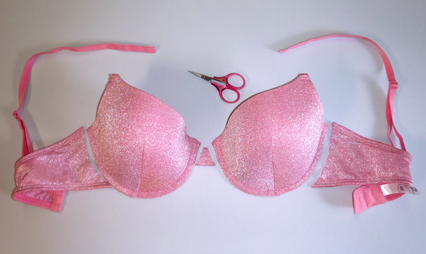
2. Decorate and embellish the main part of the cups with whatever you like.
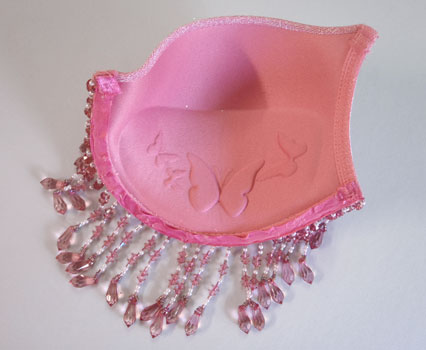
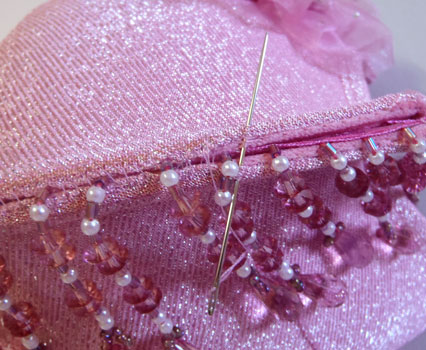
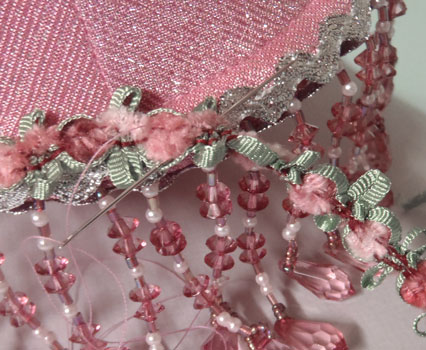
3. If you are using anything ‘dangly’ like fringing, pom-poms etc Position them, (on the inside) starting and ending over the seam where the under-wire begins and ends. Glue or tack them down.
Save one trim for later to go over the outside to cover the under-wire seam on both cups.
4. Fold the second cup of the bra over the fringing and glue or tack forming the “purse.”
Depending on what type of purse/bag you are making you may want to stitch just around the underwire, or you may want to stitch up the armhole edge as well to make more of a pocket.
5. Glue or tack final trim OVER the under-wire seam on both cups of the bra.
6. Make a new strap from cord or trim, or re-attach bra straps to bag for a strap.
You can have a long handle made from both bra straps joined together; two shorter handles made from the bra straps; a short handle that goes from the front cup to the back to make a swing purse which just goes over your wrist.
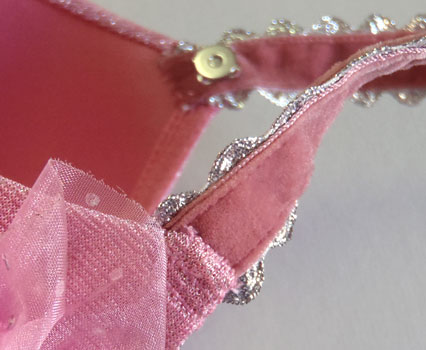
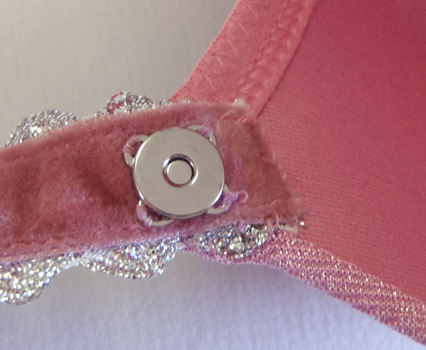
7. Attach any closures you want on your bag e.g. magnetic closures, Velcro, tied ribbon.
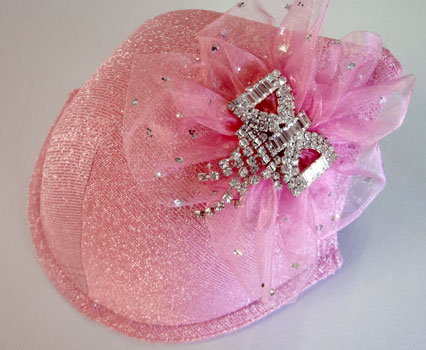
8. Add any further embellishments you desire.
9. Do not limit the use to purses only. Use them as party favors or make several and fill with sachet or potpourri to hang decoratively in your closet.
Or use as a perfect holder/ wrap for a gift card or small gift!
Enjoy ! and don’t be afraid to show off your bra bag!

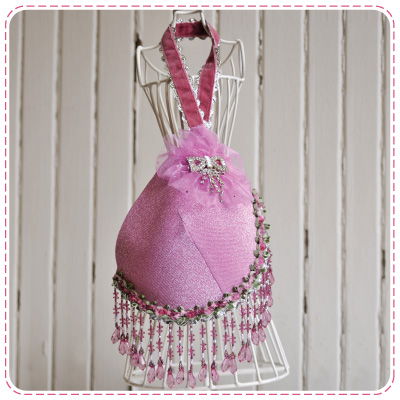


5 Responses
I’ve seen a few of these, but none with the great idea of using a magnetic snap to fasten. It’s genious!!!!
I think this is a great idea!! I have not seen one of these before. Would be great idea for contest/fund raiser to use for Breast cancer awareness/research. FUN!!! Thanks for sharing the idea & directions.
I’m looking for someone to make some for me. Do you do that?
cute
Hi Kathy, I’m very sorry we don’t make them to sell, it was just something we did with our craft group.